>>
30-MINUTE MEALS! Get the email series now →


Decadently fudgy red velvet bars topped with a silky cream cheese frosting. Quick to make, crowd pleasing, and perfect for holidays and bake sales.
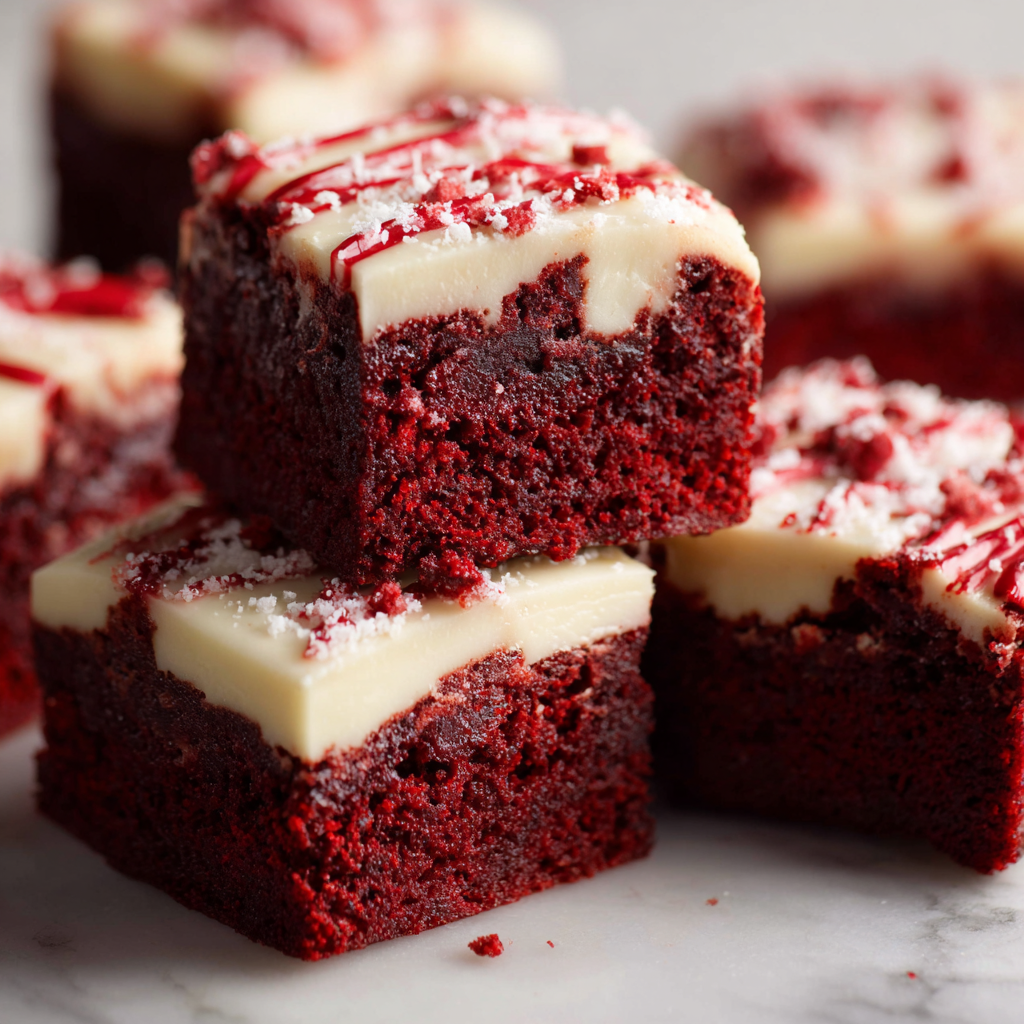
This batch of red velvet brownies is my reliable celebration dessert and a recipe I return to whenever I need something that looks elegant but does not require fuss. I discovered this version during a holiday baking marathon when I wanted the classic red velvet flavor in a denser, fudgier format instead of a tall cake. The result is an intensely colored, moist interior with just enough cocoa to balance the sour tang. The texture sits between a brownie and a dense cake which makes each bite velvety and richly satisfying.
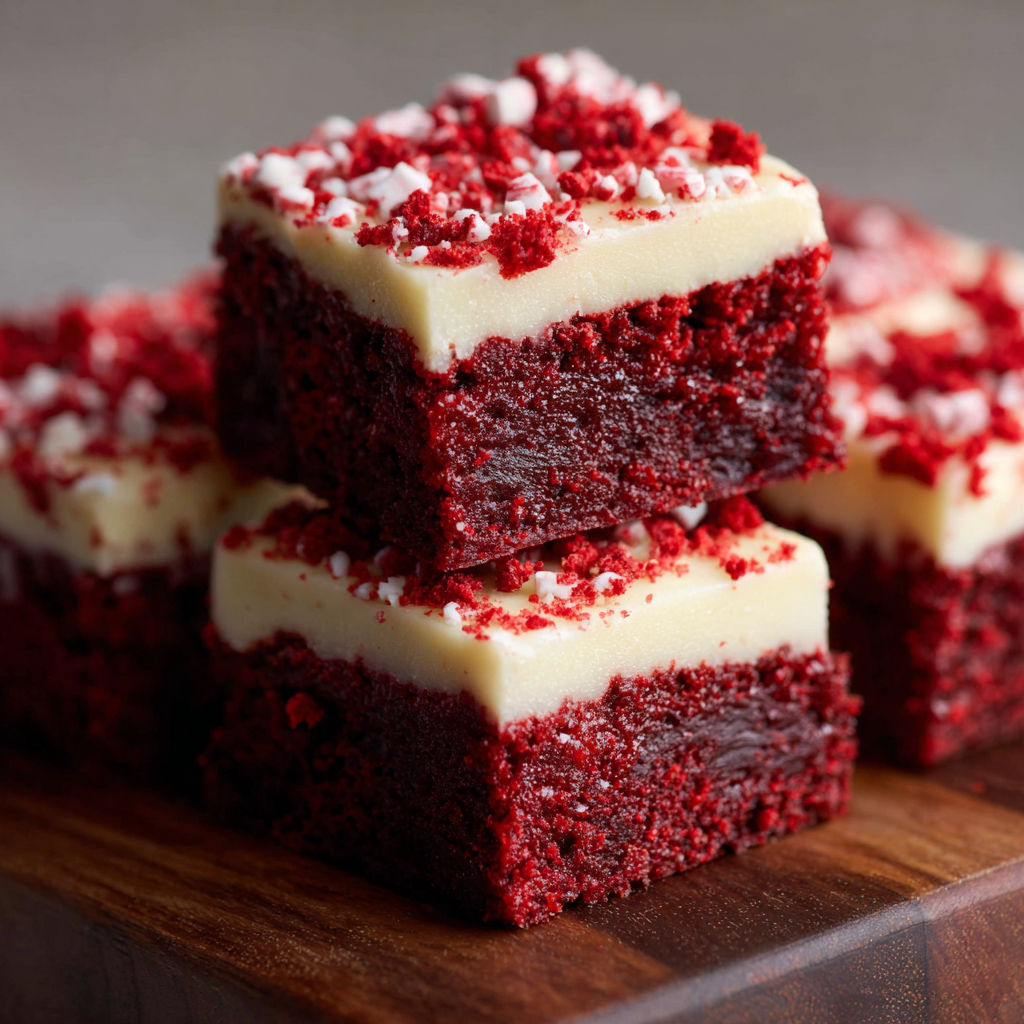
I often make a double tray for family gatherings because these cut like bars and travel well. The cream cheese frosting adds a creamy contrast that tames the sweetness of the batter while contributing a smooth top that pipes or spreads easily. I remember taking these to a potluck and being asked for the recipe three times in one evening. The simplicity of the technique and the short hands on time make them a go to when I want to impress without spending the whole day in the kitchen.
In my kitchen this recipe quickly became a favorite because it produces consistent results even when I am juggling other dishes. Family members comment on the deep color and moist crumb and friends love the tang from the cream cheese topping. It travels well to parties and slices cleanly when chilled briefly before cutting.
My favorite aspect is how quickly these come together from pantry staples to plated dessert. I have used this method to make themed treats for birthdays and holidays by swapping color and finishing touches. Family members often comment on the rich color and the tender interior which speaks to the technique of minimal mixing and the melted butter plus oil combination.
Store cooled and frosted bars in an airtight container in the refrigerator for up to five days. If you prefer room temperature keep them covered for up to two days but expect the frosting to soften. To freeze, wrap the entire tray in plastic wrap then foil or cut into individual bars and freeze in single layer on a sheet pan before transferring to a freezer safe container. Thaw overnight in the refrigerator before serving. When reheating a single portion use a microwave for 8 to 12 seconds to bring the interior to a slightly warmer temperature without melting the frosting.
If you need to make swaps use dairy free cream cheese and vegan butter to create a dairy free topping though texture will be slightly less creamy. For gluten free use a one to one cup for cup gluten free flour blend and add an extra tablespoon of cornstarch if the batter seems loose. Replace vegetable oil with melted coconut oil at a one to one ratio for a subtle coconut note. If you prefer a less sweet finish reduce powdered sugar in the frosting by half a cup and add a pinch of salt to balance sweetness.
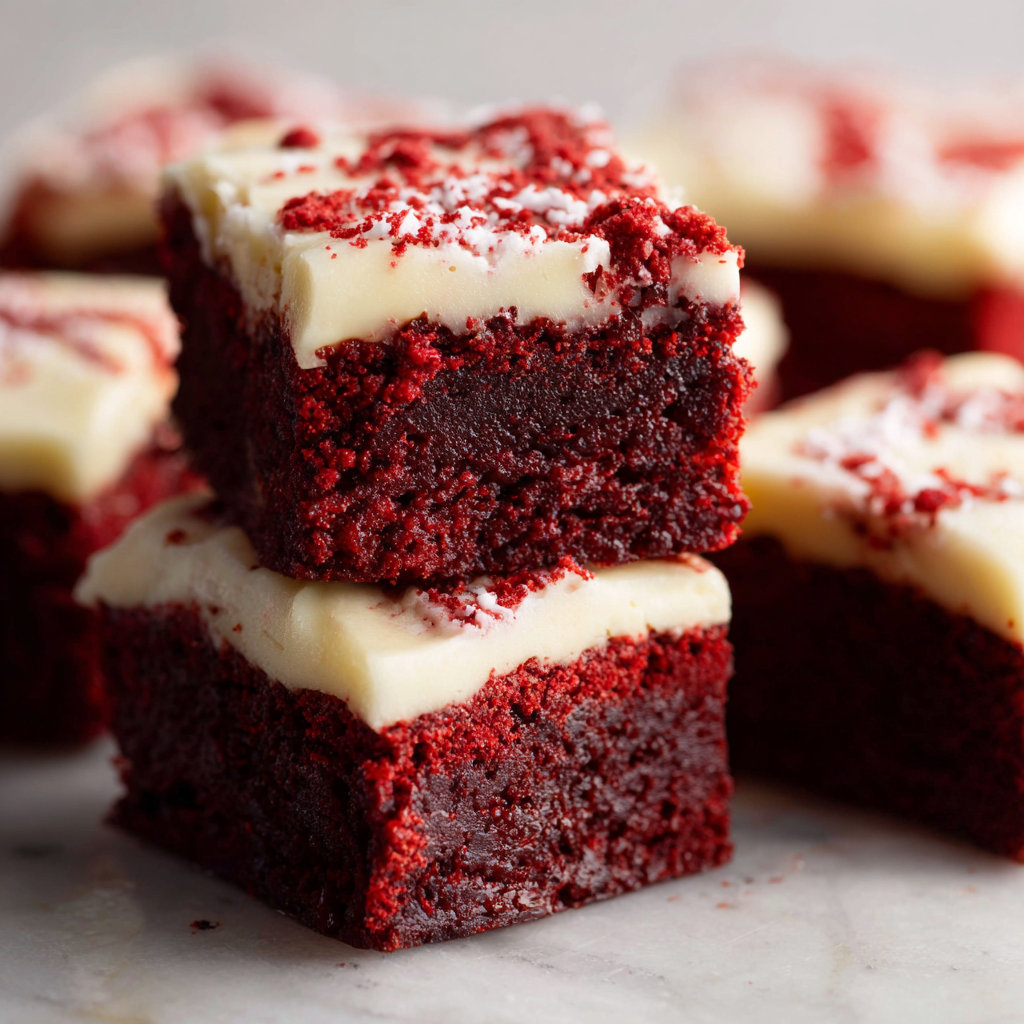
Serve these bars chilled or at room temperature. Garnish with a dusting of cocoa or a few white chocolate shavings for a polished look. They pair well with a glass of milk strong coffee or a scoop of vanilla ice cream for contrast. For parties arrange on a platter with fresh berries for color contrast. Cut into small squares for bite sized treats at a cocktail hour or larger portions for dessert plates with a sauce drizzle.
Red velvet is an American classic often associated with southern baking and celebratory cakes. The vibrant color originally arose from chemical reactions between cocoa and acidic ingredients which used to produce a reddish hue. Today gel food color is used to intensify the tone. This pan format is a modern adaptation that brings the flavors of classic layered cakes into a denser more portable format often seen on bake sale tables and holiday dessert trays.
For winter holidays consider adding warm spices such as a quarter teaspoon ground cinnamon and a pinch of nutmeg to the batter. For Valentine occasions pipe small rosettes of frosting and top with heart shaped sprinkles. In summer lighten presentation by swapping full fat cream cheese for a mixture of cream cheese and whipped cream for a softer topping. Festive swaps like peppermint extract and crushed candy canes transform these into seasonal treats.
Prepare the unfrosted base up to two days ahead and keep chilled. Make the frosting the day you plan to serve for the freshest texture. Bring brownies to room temperature before spreading frosting so it does not melt. Use parchment overhang to lift the tray and use a long sharp knife warmed under hot water then wiped dry between slices to create clean uniform pieces for storing or gifting.
I brought a tray of these to a family gathering and was told they were the best red velvet they had ever had. The clean slices and vivid color prompted requests for the recipe from neighbors. One reader adapted the method to make a layered dessert by stacking thawed slices with whipped cream and berries and described it as a hit at a summer party. The simplicity and consistency are why I continue to return to this formula.
These bars are approachable enough for a busy weeknight yet special enough for celebrations. I hope you make them your own by experimenting with small swaps and sharing them with people you love.
Avoid overmixing after adding flour to keep the texture fudgy rather than airy.
Check for doneness at 20 minutes with a toothpick; you want moist crumbs not wet batter.
Use room temperature cream cheese and butter for a smooth frosting without lumps.
Sift powdered sugar for a silky frosting and add it gradually to avoid a sugar dust cloud.
Warm your knife under hot water and dry between cuts for clean slices.
This nourishing perfectly fudgy red velvet brownies recipe is sure to be a staple in your kitchen. Enjoy every moist, high protein slice — it is perfect for breakfast or as a wholesome snack any time.
Let the brownies cool completely before frosting to prevent the topping from melting. If you need to speed cooling place the pan in the refrigerator for 20 minutes.
Freeze uncut or cut bars wrapped well for up to three months. Thaw in the refrigerator overnight before serving.
This Perfectly Fudgy Red Velvet Brownies recipe makes perfectly juicy, tender, and flavorful steak every time! Serve with potatoes and a side salad for an unforgettable dinner in under 30 minutes.
Line a nine inch square pan with parchment leaving two sides with an overhang. Preheat the oven to 350 degrees F and position the rack in the center.
Melt six tablespoons butter and whisk together with one cup granulated sugar and one quarter cup light brown sugar until combined and glossy.
Whisk in three large eggs one yolk and one teaspoon vanilla until just incorporated. Avoid whipping too much air into the batter.
Add one third cup vegetable oil and one quarter cup cocoa powder and whisk gently until smooth. The oil keeps the crumb tender.
Stir two tablespoons of batter with one half teaspoon red gel food coloring then fold back into the main bowl for even color without streaks.
Using a rubber spatula fold in three quarters cup flour one tablespoon cornstarch and one quarter teaspoon salt until no dry streaks remain. Stir in one tablespoon vinegar.
Fold in optional three quarters cup white chocolate chips then spread in the prepared pan. Bake at 350 degrees F for 20 to 25 minutes until a toothpick shows moist crumbs.
Cool the baked bars completely. Beat four ounces room temperature cream cheese with six tablespoons softened butter then gradually add four cups powdered sugar and one teaspoon vanilla. Spread over cooled bars and chill briefly for neater slicing.
Last Step: Please leave a rating and comment letting us know how you liked this recipe! This helps our business to thrive and continue providing free, high-quality recipes for you.
Leave a comment & rating below or tag
@kitchenfunwithmy3sons on social media!
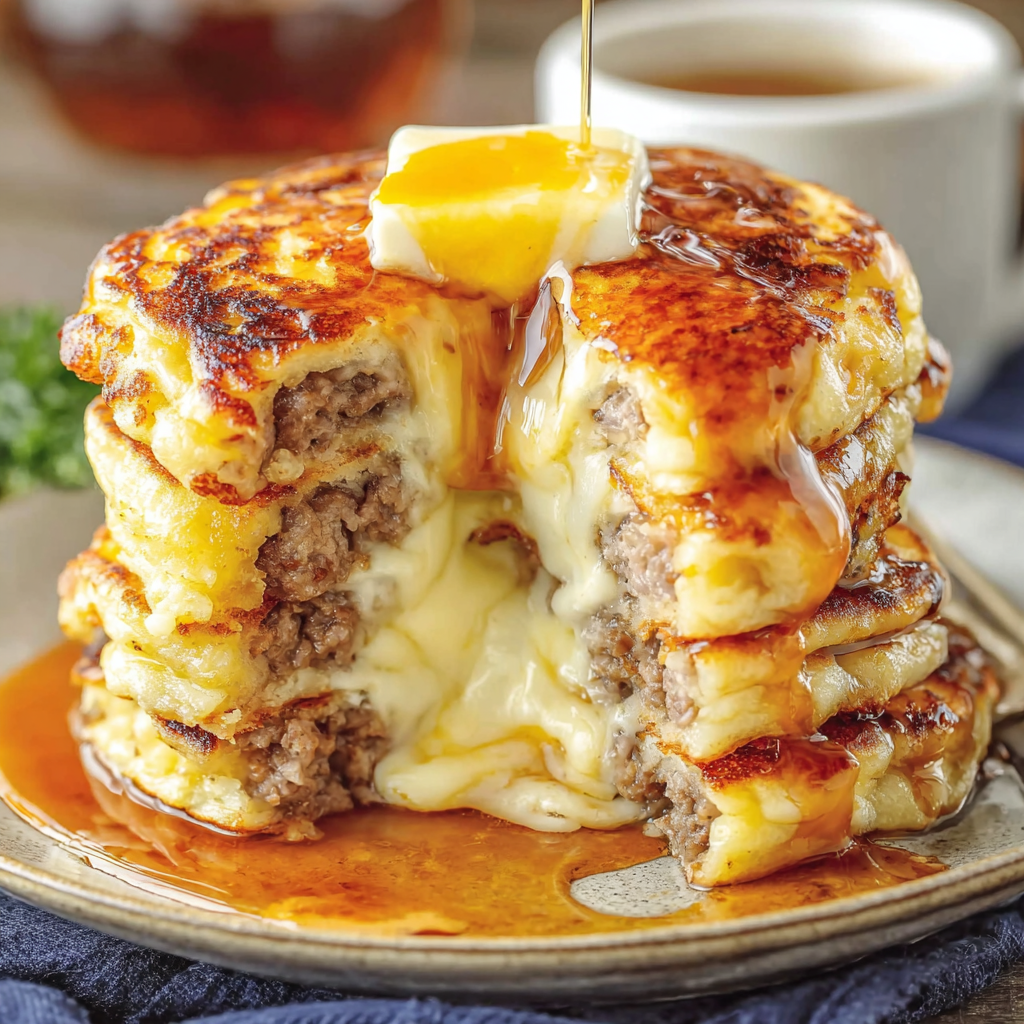
Juicy breakfast sausages wrapped in pillowy golden pancakes — a cozy, crowd-pleasing morning treat served with warm maple syrup and fresh berries.
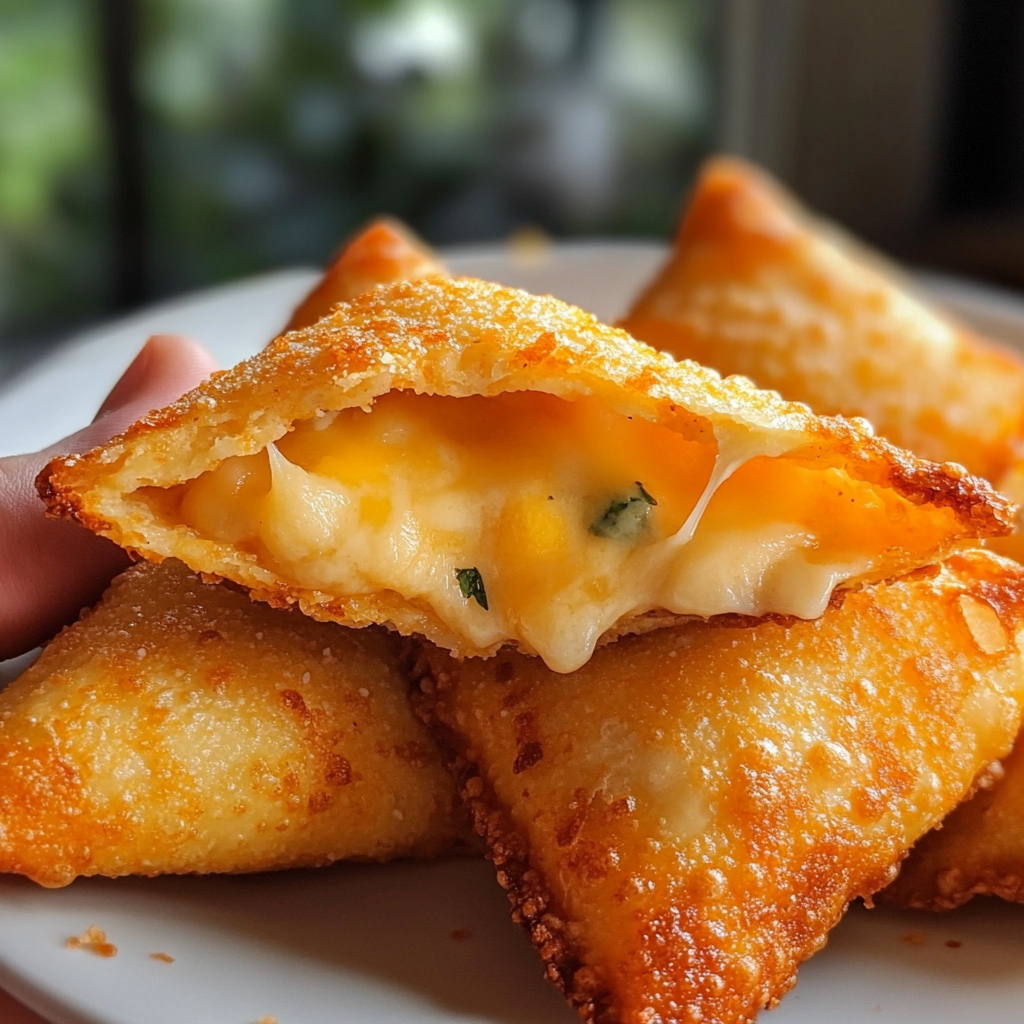
Mozzarella sticks coated in crushed Doritos and fried until golden, crunchy, and irresistibly gooey — a crunchy, snackable twist on a classic favorite.
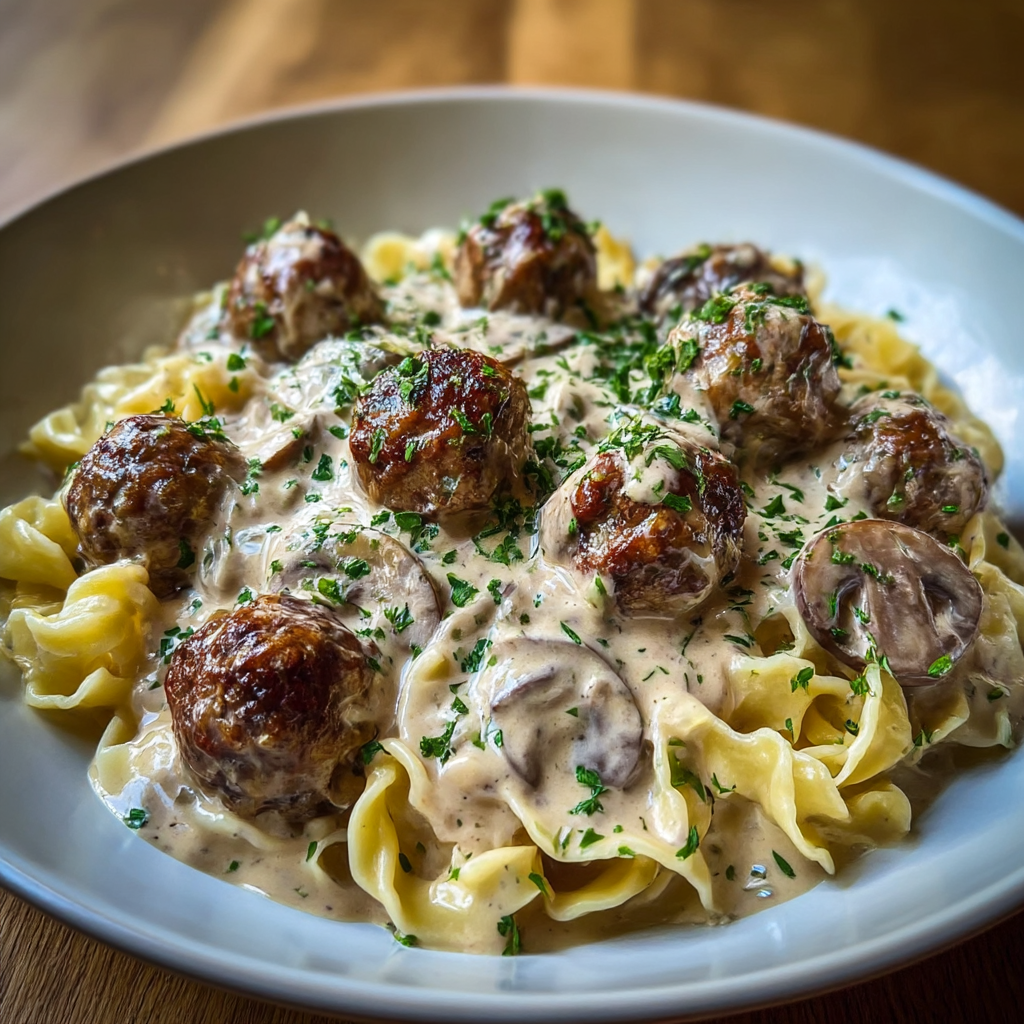
Juicy pan-seared meatballs simmered in a luscious mushroom and sour cream sauce — a comforting stovetop meal inspired by Eastern European flavors.
Leave a comment & rating below or tag @kitchenfunwithmysons on social media!
Enjoyed this recipe? Share it with friends and family, and don't forget to leave a review!
This recipe looks amazing! Can't wait to try it.
Comments are stored locally in your browser. Server comments are displayed alongside your local comments.
Quick and easy dinner ideas delivered to your inbox.